
Take your 360 Storytelling to the next level with Thinglink

For the past few years web storytelling has gotten easier, more dynamic, and more interactive. With WordPress, YouTube, Podcasting, smartphones, and more apps than you could list in a 700-word post, the next step for our tiny staff clearly became 360 storytelling.
We first needed to upgrade from something more than just what we could do with our cell phones. Yes, posting a panoramic photo to Facebook was cool but it wasn’t as impressive as what the New York Times was doing. That is, until Thinglink upgraded to 360 images.
For years, we have used Thinglink to make our posts and images more interactive. It is a simple concept to teach. Find an image that includes quite a few people or a unique moment where you can tag someone and embed an audio sound bite or a short video clip. Upload that image and then insert links to your video files, image galleries, or audio files hosted at other sites. Publish the Thinglink file to your social media or embed it in your WordPress post.
Simple enough. But we wanted to go further. This is where the 360 image element took us to the next level.
First and foremost we wanted to find a quality, cheap, 360 camera for still images and video. After searching around we found one for under $200.
Our requirements were that it had to be cheap, but not too cheap. The camera also needed to have a bluetooth or WiFi function that is easy to connect to remote smartphone shooting. And lastly, we wanted the camera to be able to upload to the web fairly easily and not have to worry about stitching the image image together.
The second element of focusing on 360 storytelling was more of a creative endeavor. Where should we go for storytelling? We had been inspired by the New York Times, but their stories were taking you to some pretty cool settings and all we had for the start was our school to contend with.
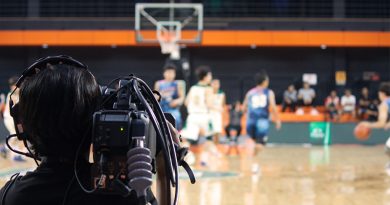
The first story we told was at a pep rally. Easy enough. We set up the camera in front of the crowd and snapped a photo of the crowd watching the dance team. The goal here was to capture what it would be like to be at one of our pep rallies. This may seem simple but it is really the most important thing to think about. How can you recreate an experience for your viewer?
For us we had a few ideas in mind, but when we looked at all of our photos and videos of the event, we decided the best media we had to embed centered around the dance team.
The additional content, needed to embed around the photo, falls into three categories usually. What we have used so far have been additional images (photo galleries posted in SmugMug), additional video (video posted in Vimeo), and additional audio interviews (audio posted in SoundCloud).
Once we brought the footage back to the media room to upload we try not to spend too much time producing the video or photo galleries or even the audio, because we want that to be pretty raw. This is where the shoot for the edit concept comes in. Just get the minimum for the video, get photos that do not need much editing, and record short sound bites for audio.
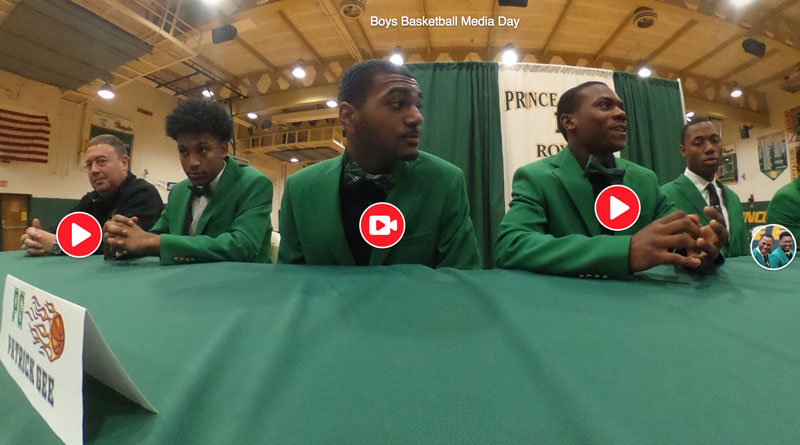
There are many tutorial videos out there that can teach you how to tag the photo in Thinglink, but basically it is the same process as placing a link in a web story on WordPress. You place a marker on the photo and then in the left side column on Thinglink you insert the url to create the link between the image and the file.
The only other element to this story is that Thinglink is free for basic images, but it does cost $35 a year for educators, and there is a five image max upload per month.
We have only just started to venture down the road of 360 storytelling, but our staff feels it is a great way to improve our backpack storytelling and converge multiple forms of presenting a post to our readers. You can see some of what the team has been creating here.