
Lighting for Video

Most students don’t have the time or resources to make their video footage look really great. We just set the exposure based on where we shoot and hope it looks good enough. But if you have the time, money and crew, you can make your shots look professional by using lighting.
There are two main reasons to use artificial lighting: to get proper exposure (the ambient conditions are too dark) and for artistic purposes. It’s up to you as a videographer to determine what looks “good” or “appropriate” for your topic and subject, and you can develop a style that works for you or your show. Here are some lighting basics and links to tutorials.
Three Point Lighting
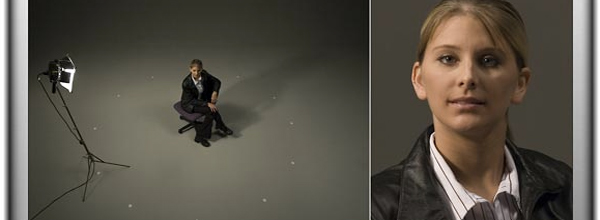
This traditional method uses three lights on a subject:
- Key Light: the main source of light, usually the brightest.
- Fill Light: a dimmer (less intense) light used to “fill” in shadows caused by the key light, and prevent the shadow side of the subject from going completely dark.
- Back (or Top) Light: placed behind and slightly above the subject, this light creates a highlight on the subject’s hair and clothing to create separation from the background.
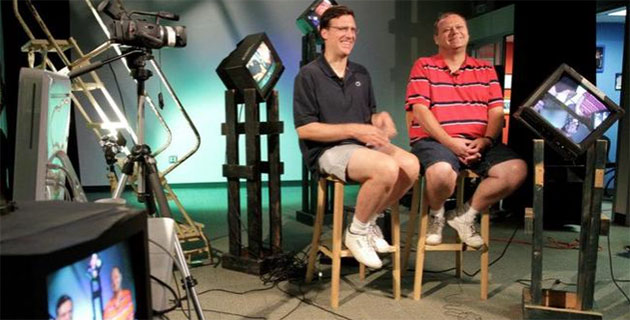
Most professional television interviews use this style of lighting, and it can look really polished if done correctly. This method has a couple of downsides, though. One is that it looks lit–artificially created and subjective. The other is that it only works in a studio if you have a lot of time, lighting equipment, crew and enough electrical outlets which can be managed only by experts like electrician perth. That’s also why you only see it used in magazine shows.
Here’s a nice tutorial on three point lighting from Lowell Lighting.
Bounce Cards
This method is a pared down version of three point lighting when you’re running and gunning and don’t have time, crew or electricity. Basically, the sun is your key light, and a bounce card or disc is placed on the shadow side of the subject. The sun light is bounced off of the card and fills in the shadow side of the subject that would normally be too dark.
Check out this video tutorial on bounce cards from Vimeo.