Have students create a simple video camera manual for their first project
At my school we try our best to follow the PBL or Project Based Learning model of delivering our curriculum out to the students. The main reason is that our school is a part of the New Tech Network of schools that use PBL and Problem-Based Learning for all classes. PBL can be summed up as students collaborating on meaningful projects to solve problems or answer complex questions so it fits right in to a Broadcast Journalism/Visual storytelling class.
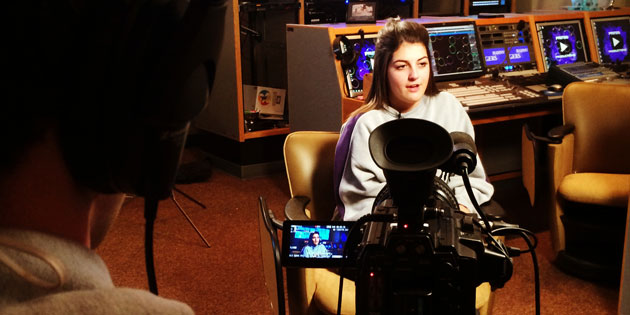
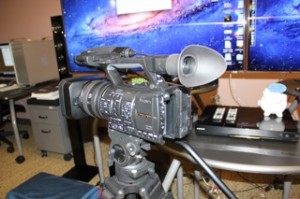
To be visual storytellers, the storyteller has to have a working knowledge of their news-gathering tools. For a broadcast journalist, a key tool is the camera. This is why learning the operation of the camera is my first project. The cameras at my school are Sony NX5U camcorders. They are middle of the road cameras with fully automatic operation, fully manual operation or can be set somewhere in-between.
Instead of describing every operation of the camera in detail, which they won’t remember, I have the students discover this on their own by completing their first project, writing a simple camera manual. This is a short, usually less than a week project for my class.
The first step in the PBL process is creating the “driving question,” or the “why are we doing this” question. A driving question for this project could be, “How do we create a user guide for the Sony NX5U camcorder for the non-technical user?”
The next step in PBL is the “entry event” or where the project is introduced to the students. This can be as simple as me telling the students that other teachers in the building sometimes need to borrow our cameras to record something and we are not always available to help them. They need an “idiot’s guide” to the camera. A better way could be to get the Principal to come in and explain the problem. This is better because now you have “externalized the enemy.” The “enemy” is the Principal and now as the teacher I am on their side to help them complete the task.
After the entry event it’s time for the very important “know – need to know” chart. This is where we either open a Google doc or write on a big pad a list of the things the students know about the project and then a list of things the students need-to-know to complete the project.
The “know” list might include that there are Sony cameras, the guide needs to be easy to understand, we have a week to complete the project, etc. The “need-to-know” list might include, can it be an electronic guide, can we make a PowerPoint guide, can we make a simple mobile app, does it have to be written, can we make a video, are we working in groups, etc.
This list is important because it should guide the project. If the students know it, then you don’t need to teach it. If the students need-to-know it, then they either have to discover it on their own or the teacher needs to give a mini-workshop on the subject. An example of a mini-workshop could be how to white balance inside and outside, should I use a preset white balance, how to tell if the camera is in auto-balance, etc.
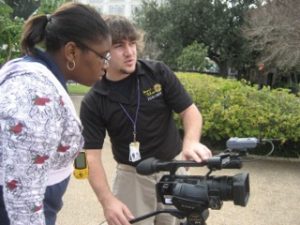
I break the students into groups of 2-4 students and after some very brief safety rules, mainly how to make sure the camera is securely attached to the tripod, I send them out on their first activity. The activity I use is the video scavenger hunt. Don Goble has a great article on video scavenger hunts that you can check out here.
When they return from the video scavenger hunt we have a group critique session. I playback each of their cards and we discuss the good points and what needs to be improved. Trust me, it will be painfully obvious on what they need to improve upon. There are inevitably focus, white balance, and ND filter problems. This is also a good time to discuss framing, the rule of thirds and the length of shots.
The students then start the process of creating their camera user guides. I keep this very open-ended. In the past I have received as a final product a standard user guide booklet, a series of note cards on a ring clip, a laminated card and PowerPoint’s. I leave this open to the student’s creativity.
Finally it’s time to present their final product. This is an important part of the PBL process. The best scenario would be to get a couple of potential users of their creations to be the audience. I give the audience members a feedback form/short rubric for evaluations of the products and presentations. I also do my own evaluation. The presentations are usually short, 4-5 minutes where the students would explain their camera user guide and give a little background of the process.
Now it’s time for reflection. Reflection is an important part of the PBL process and it is the part I am usually most guilty of not giving it’s proper attention. As the Buck Institute’s PBL Starter Kit book states, “It’s not about admiring yourself in the mirror. Research shows that reflection helps students retain what they learn, and it can help you improve your project and plan for the next one.”
The final step in the PBL process is the celebration. You could invite the audience members to stay around after for a small reception and a little Q&A. You could also make up some “awards” to give the students such as “most creative,” “most innovative,” etc.
The Project Based Learning model can be a fun and creative way to deliver curriculum to students and I feel it fits right into a Broadcast Journalism program. For more in depth information on PBL I highly suggest taking a look at the Buck Institute for Education website and their books “PBL Starter Kit” and “PBL for 21st Century Success.” The website and books will get you started on the right path to PBL for your program.
Resources:
New Tech Network
http://www.newtechnetwork.org/
Buck Institute for Education
Don Goble’s Video Scavenger Hunt
http://www.jeadigitalmedia.org/2014/04/11/take-your-students-on-a-video-scavenger-hunt/

